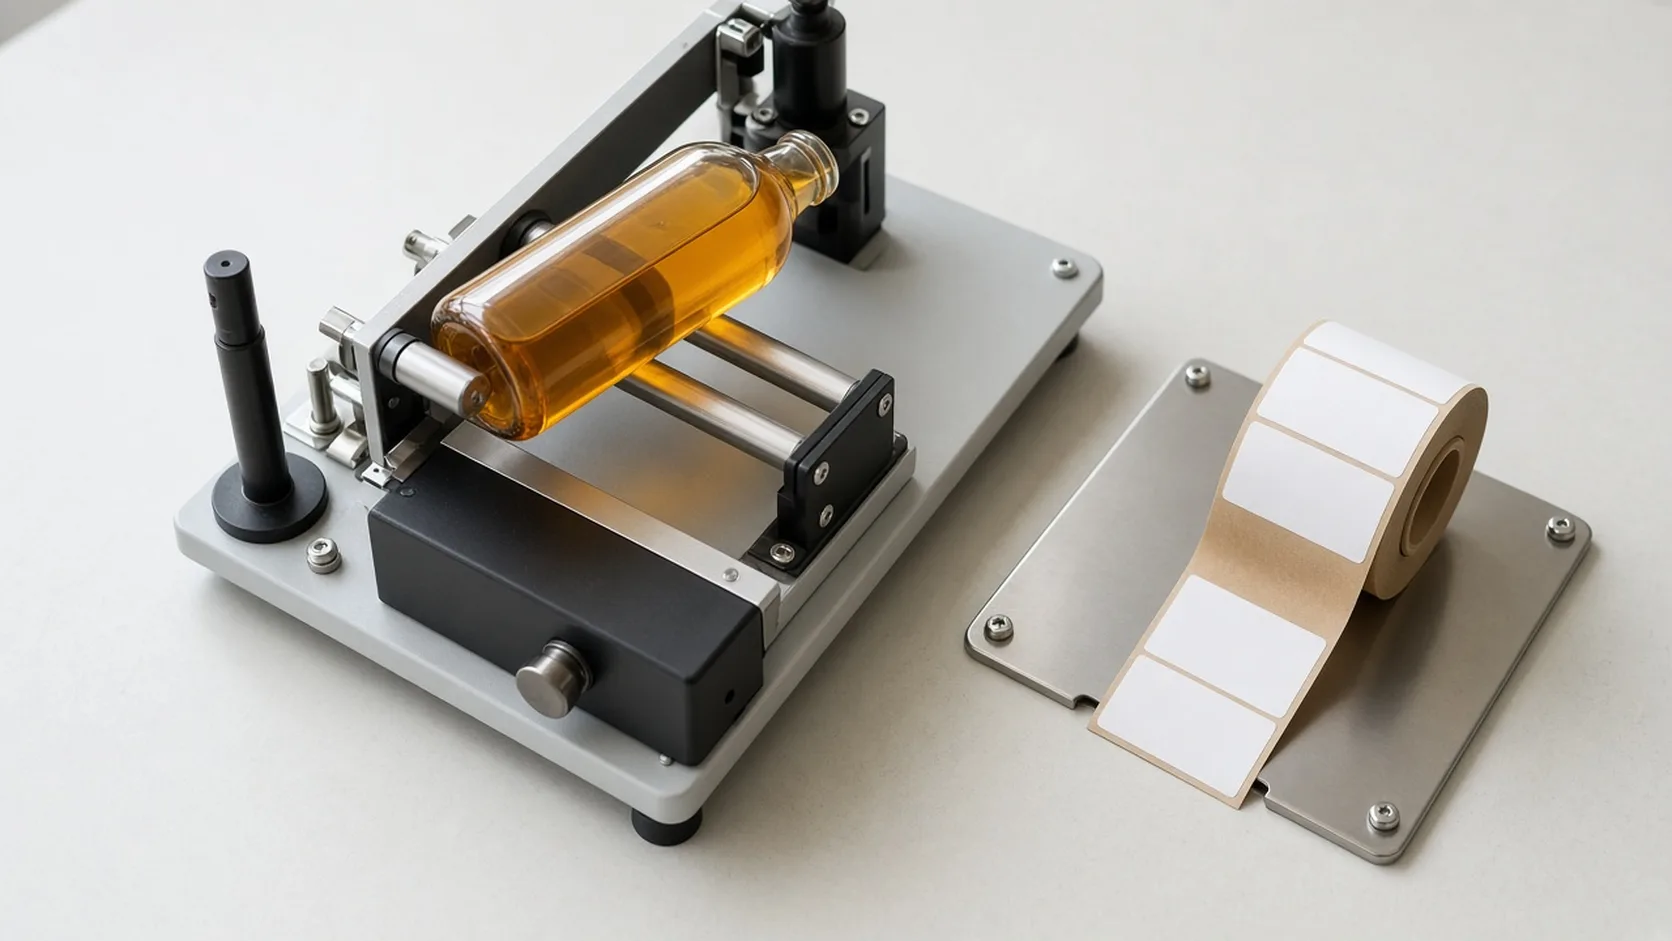
An automatic label applicator is worth moving inline when its accepted output, after changeovers and stops, meets a schedule that a manually loaded workstation cannot. A semi-automatic workstation remains a practical choice when it completes the job mix within the available time and provides repeatable product positioning.
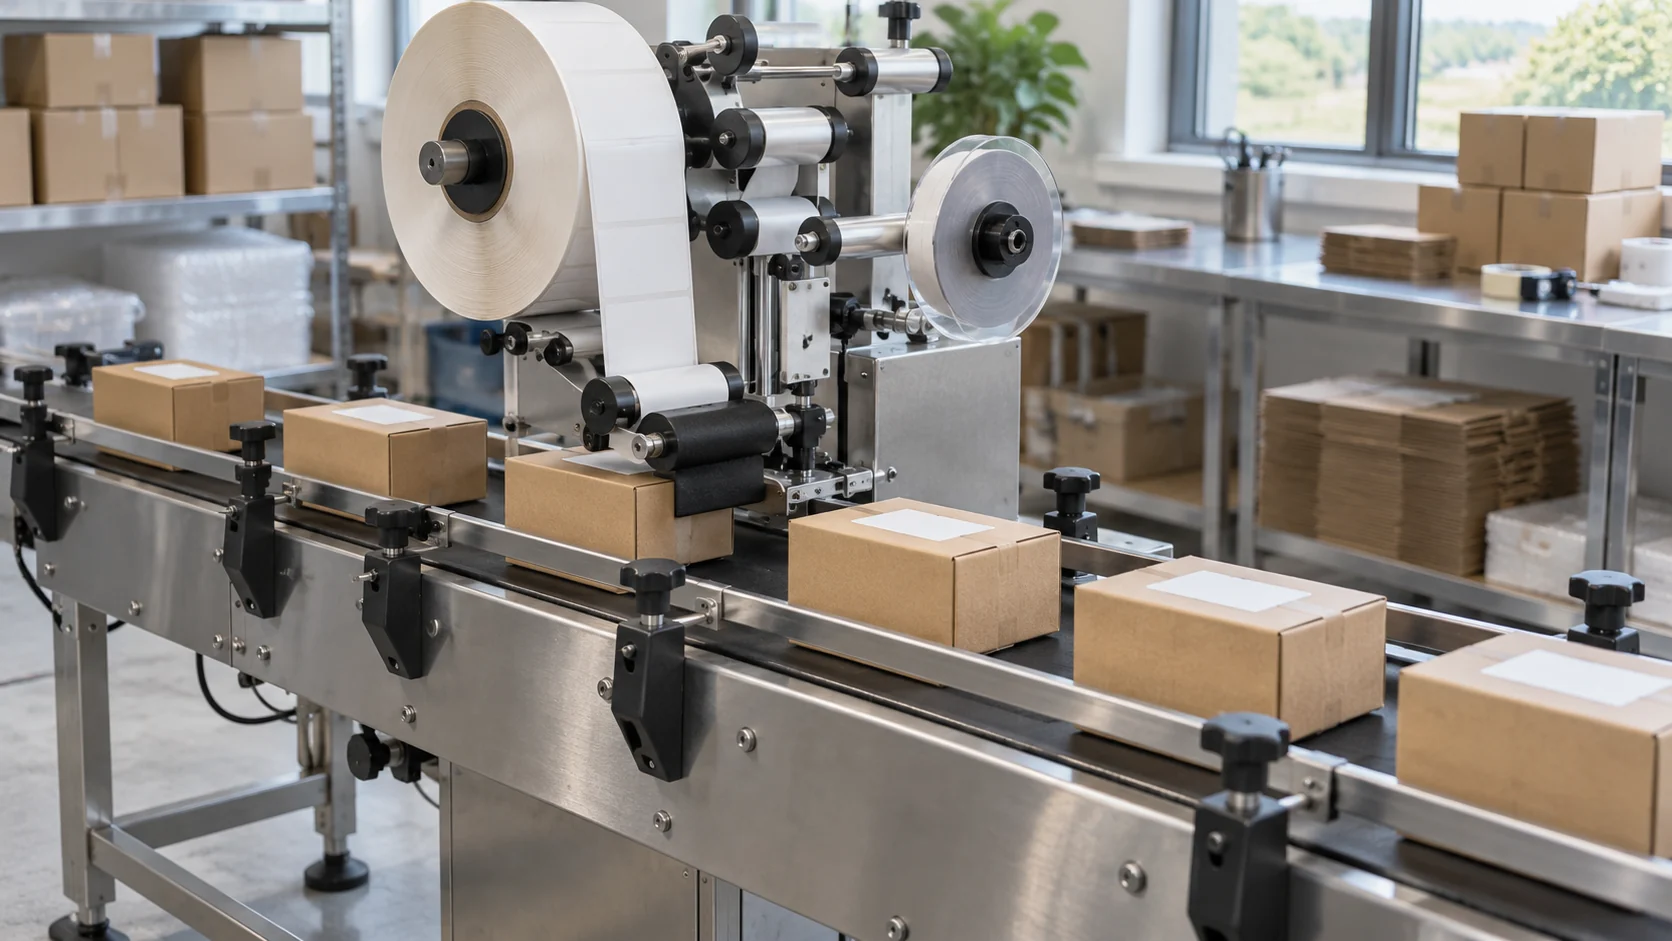
Start by asking who loads each item. LABELMATE’s BOTTLEMATE-910, for example, is described as automatic, but its operator inserts the container and presses a footswitch. An inline automatic labeler adds a different task: presenting successive products to the head with controlled spacing and orientation. The equipment name alone does not establish that handling arrangement.
For a semi-automatic vs automatic labeling machine comparison, evaluate the complete station on the same products and acceptance criteria. The wider labeling workstations collection covers positioning and label identity; this decision adds production time and conveyor integration.
| Decision input | Semi-automatic workstation | Inline automatic labeler | Main failure to prevent |
|---|---|---|---|
| Accepted pieces per minute | Include loading, triggering, unloading, and the operator’s assigned checks. | Include the actual infeed and downstream inspection or packing constraint. | Quoting head speed while another operation limits output. |
| Each job transition | Record fixture adjustment, stock change, clearance, and first-piece approval. | Add any guide, handling-part, head, recipe, and inspection changes. | Starting the clock after preparation or stopping before the first approved piece. |
| Product presentation | The operator places each item against its locating features. | Guides and any metering or positioning equipment present successive items. | Labels placed consistently on products that arrive skewed or unstable. |
| Quality control | Define the operator’s checks and segregation method. | Specify any label/code inspection, reject device, and reject confirmation. | Assuming dispensing a label also verifies its identity and destination. |
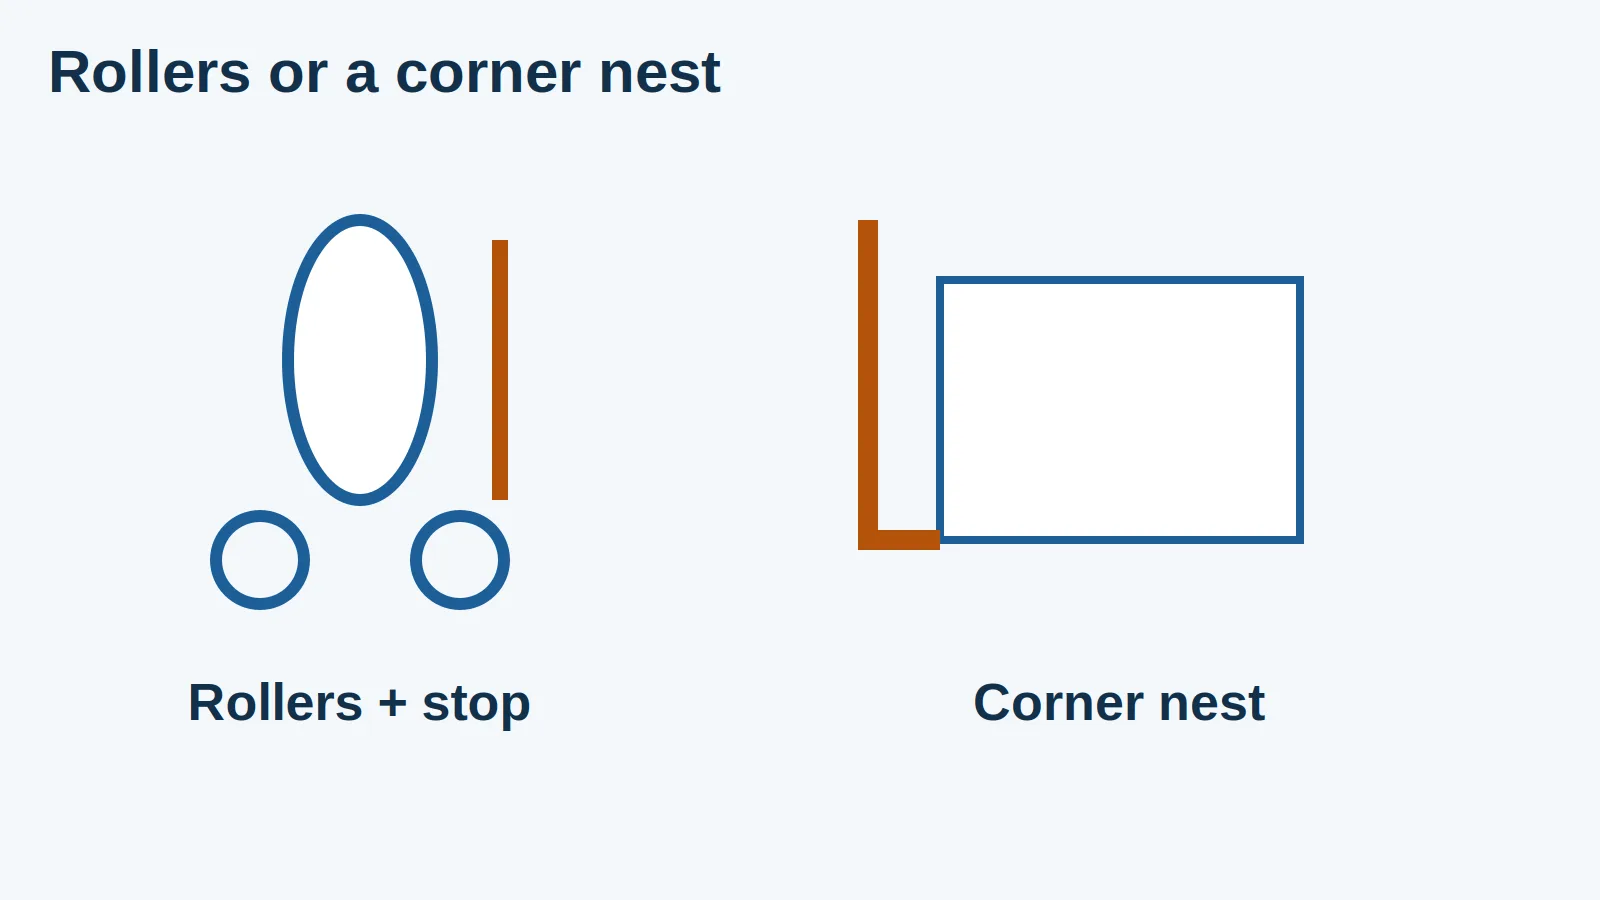
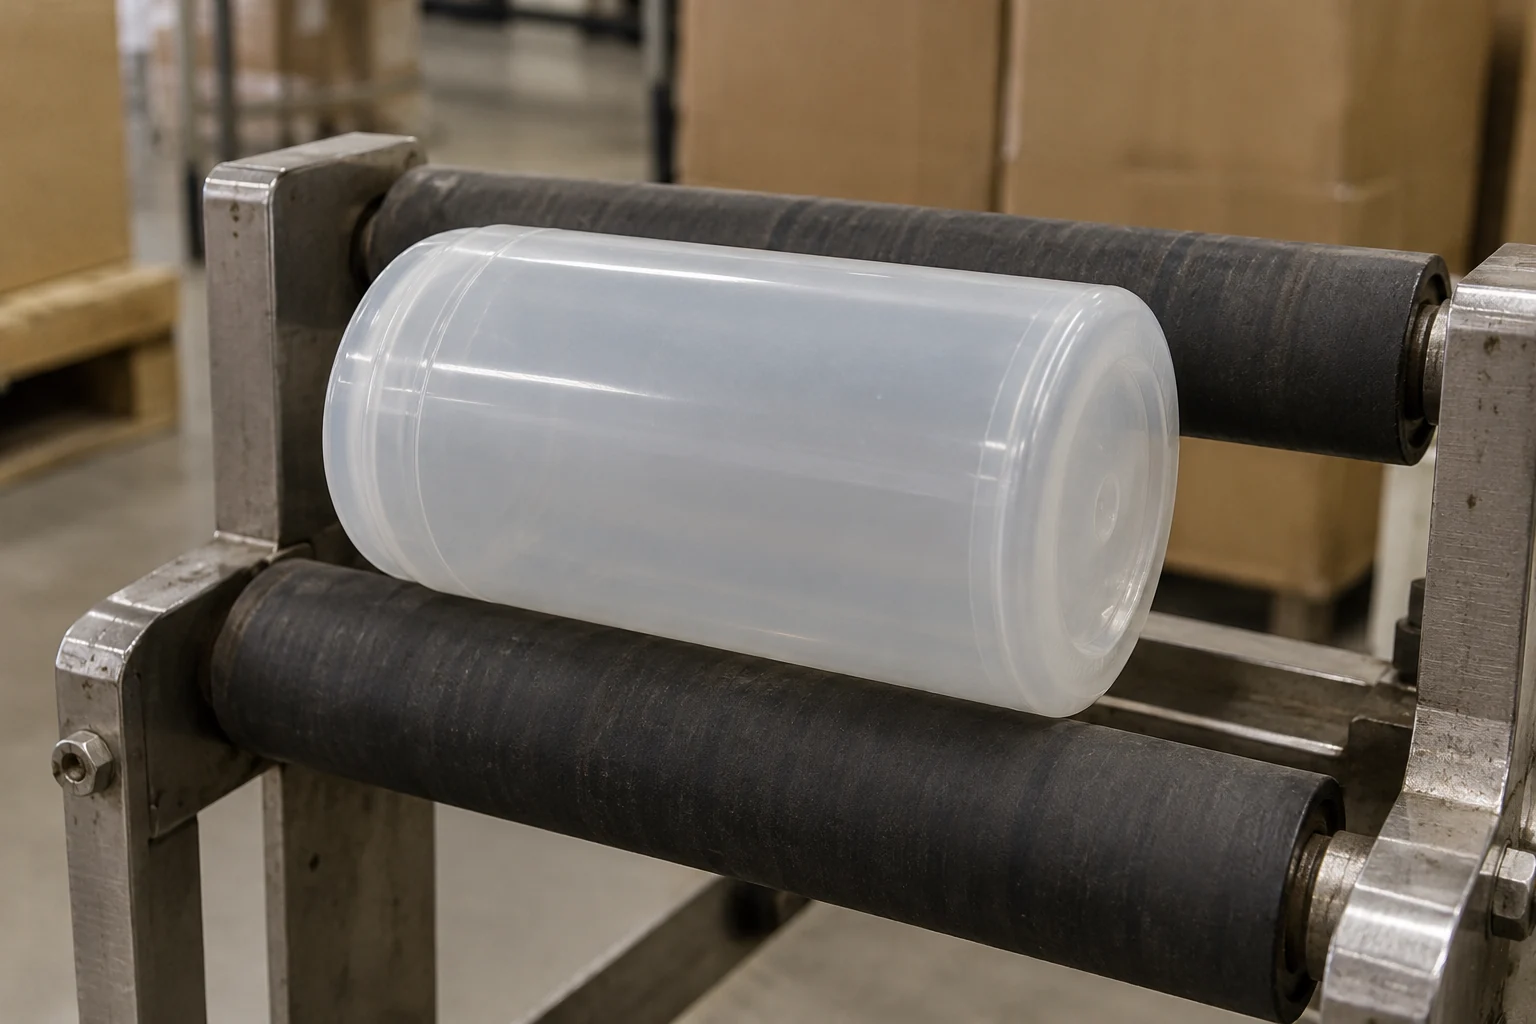
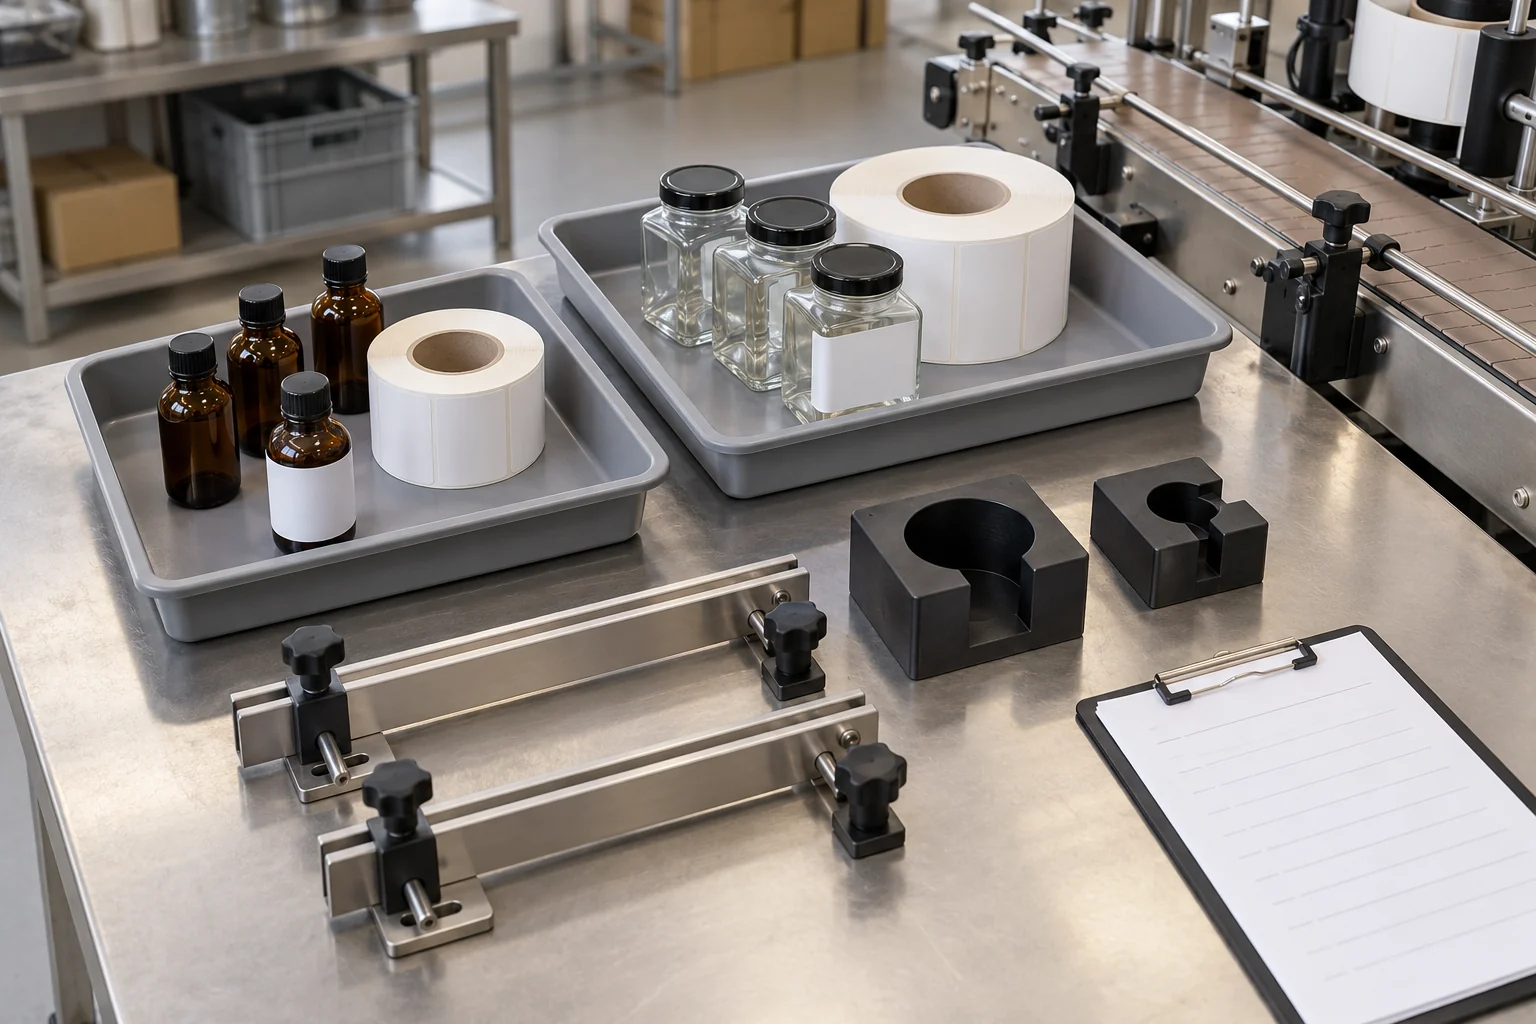
Images: generated illustrations of labeling workstations.
Compare accepted pieces per minute
Use accepted products per running minute for the capacity comparison. Label-web speed in metres per minute describes linear motion; it cannot be substituted for finished pieces per minute.
LABELMATE advertises up to 1,200 containers per hour for the BOTTLEMATE-910 once the operator establishes a rhythm. That is 1,200 ÷ 60 = 20 containers/minute for that one-label model’s advertised maximum. Videojet’s Labeljet 210 specification instead lists a labeling speed of 2–30 m/min. These figures answer different questions. The workstation’s loading cycle and the conveyor line’s product pitch still need to be measured.
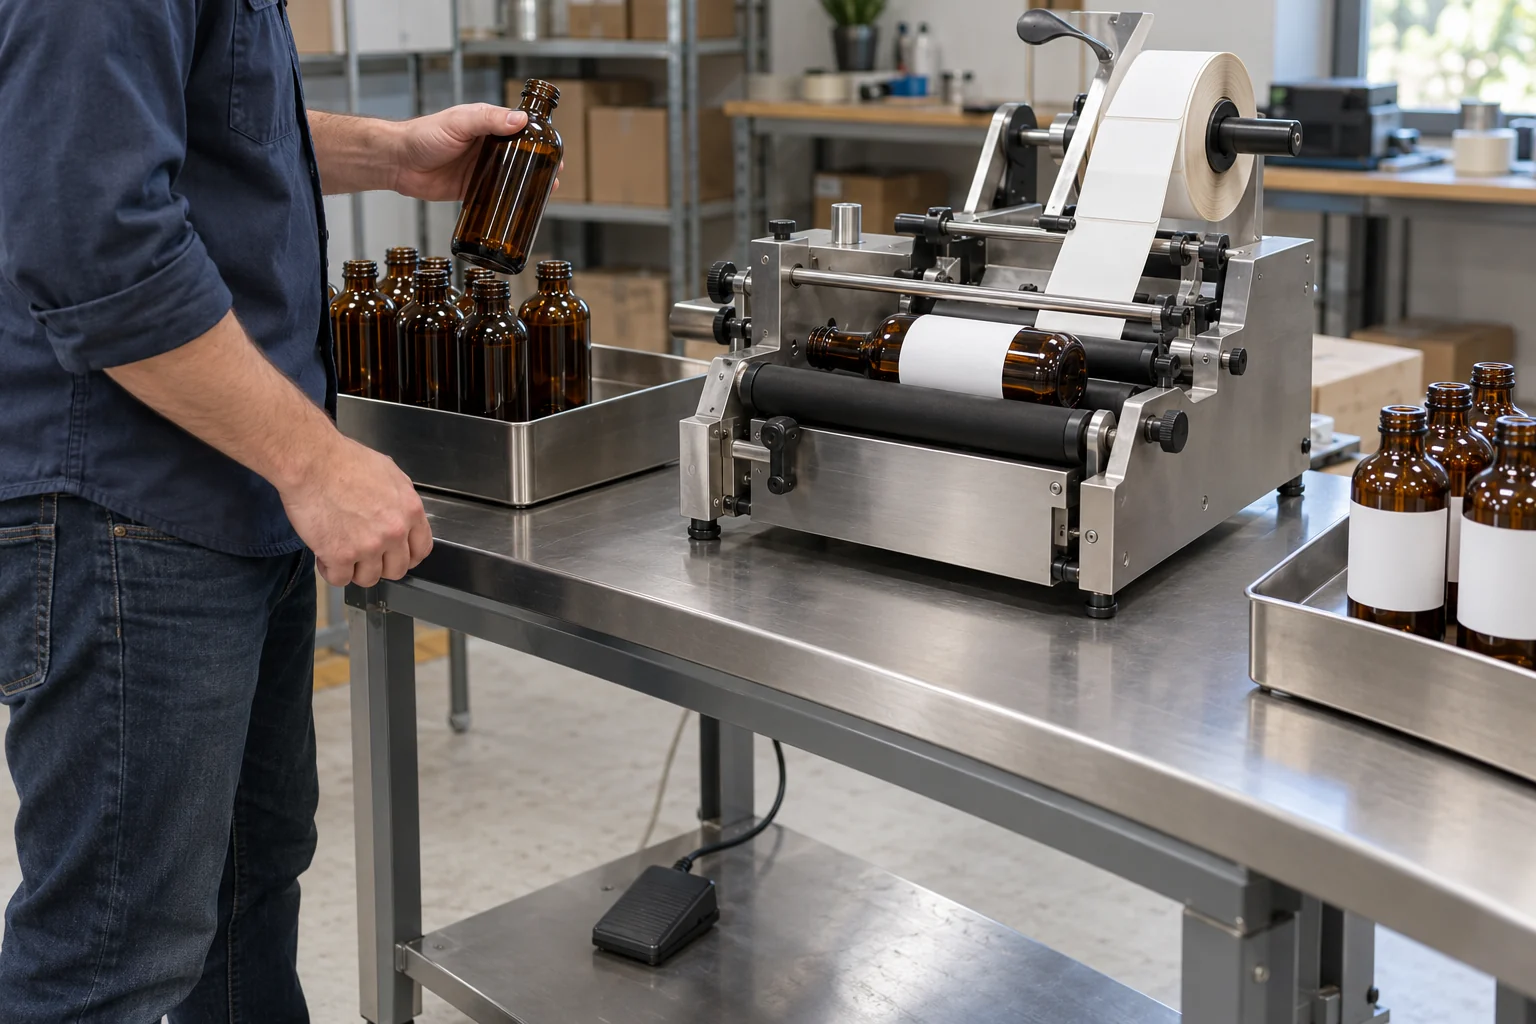
For each representative SKU, count accepted pieces over a timed run with the intended staffing. Include the operator’s normal handling cycle. Record separate stops, rejects, and setup time so each loss enters the calculation once. Use the same acceptance checks for both options; a faster run with more unusable labels has not demonstrated the required capacity.
For a mixed production day, calculate:
T = Σ(Qi ÷ ri) + Σck + D
Here, Q is the accepted quantity required for each SKU, r is its demonstrated accepted pieces per running minute, c is each changeover in minutes, and D is other downtime in minutes. Calculate a separate T for each equipment option and compare it with H, the available production minutes. Include startup setup in D when it uses that window and is not already recorded as a changeover. Keep breaks and planned nonproduction time outside H, or count them in D, consistently.
If Tsemi > H and Tauto ≤ H, the inline option meets a schedule the workstation misses. If both fit, staffing, quality controls, floor space, and ownership costs become the deciding factors. If both exceed H, the proposed inline configuration has not solved the capacity problem.
Do not add rejects again as a separate time penalty when they already reduce the accepted-piece rate. Likewise, a rate measured across a stop already includes that stop; either remove it from the running-time denominator or leave it out of D.
Count every changeover before comparing speed
Time a changeover from the last accepted piece of the old job to the first accepted piece of the next. That comparison captures clearance, part and label changes, adjustments, trial pieces, and approval. Use the actual transition sequence: changing only artwork is a different job from changing container geometry and label size together.
HERMA’s 2017 Labeling Businews 001 — Pharma describes Produlab format changes of about 15 minutes, frequent days with five batch changes, and an intended ten-hour line day. For a day with five format changes at that duration:
Changeover time = 5 × 15 = 75 minutes. Share of the available window = 75 ÷ (10 × 60) × 100 = 12.5%.
That leaves 525 minutes before other losses. The historical inline-labeling case makes the scheduling issue tangible: even a line that runs reliably needs time reserved for its product mix. Use your own transition log to determine that reserve.
Find the batch size that repays extra setup time
For the same product, write the setup-plus-run times as Tsemi = csemi + Q/rsemi and Tauto = cauto + Q/rauto. If the automatic configuration has the higher accepted running rate, their time crossover is:
Q* = (cauto − csemi) ÷ (1/rsemi − 1/rauto)
With a positive automatic setup penalty, batches above Q save elapsed time on the automatic option*; batches below it finish sooner on the workstation under these measured conditions. If automatic setup takes the same or less time, there is no positive setup penalty to recover. If its accepted running rate is no higher, this equation cannot establish a running-speed advantage. Assess financial payback separately using equipment and labor costs.
How many daily changeovers are too many?
The boundary depends on the time saved while running and the time added at each change. For a simplified day using a common rate and changeover duration for each option, define Δc = cauto − csemi and ΔD = Dauto − Dsemi. Automation saves time when:
Qday(1/rsemi − 1/rauto) > nΔc + ΔD
Here n is the number of changes. When Δc is positive, each additional change consumes part of the running-time saving. For mixed SKUs, return to the full daily sum instead of averaging away the slow transitions. The peel-angle and label-sensing guide covers setup details that can enter those transitions.
Decide how products will be spaced and positioned
Specify handling from the presentation problem: spacing, stability, or alignment to a product feature. Increasing the speed of the label head does not resolve these mechanical tasks.
For products that travel stably, guides establish the lateral path. If containers bunch together, the system also needs controlled separation. Morrison’s Metering for Mayo Jar Labeling case describes timing screws that space round and square glass jars for a downstream labeler. Different screw sets accommodate the container formats, and quick-change infeed rails form part of that handling arrangement. Include those parts and their swaps in the comparison.
Positive positioning becomes relevant when the product needs a controlled location during application. HERMA describes a rotating starwheel on the 132M HC and a clocked-starwheel variant for aligning labels with a salient product feature. That is a more involved handling requirement than guiding a plain carton along a belt.
Use representative filled containers during the trial. A bottle that slips or tips, a carton that yaws, and a package whose labeling face changes shape require different handling responses. Record whether each SKU needs only guide settings or a different set of format parts, then time the transition with those parts included.
Match label feed to conveyor movement
A conveyor label applicator must accommodate both product arrival rate and product movement during label contact. Begin with the center-to-center product pitch, including the product’s length in the travel direction and the gap after it.
At steady conveyor speed v in metres/minute and consistent pitch p in millimetres:
Transport flow, products/minute = 1,000v ÷ p
The factor 1,000 converts metres to millimetres. Measure pitch between equivalent points on consecutive products; using the empty gap alone overstates the arrival rate. Check that this flow also fits the label cycle and recovery time, product stability, and downstream inspection and reject capacity.
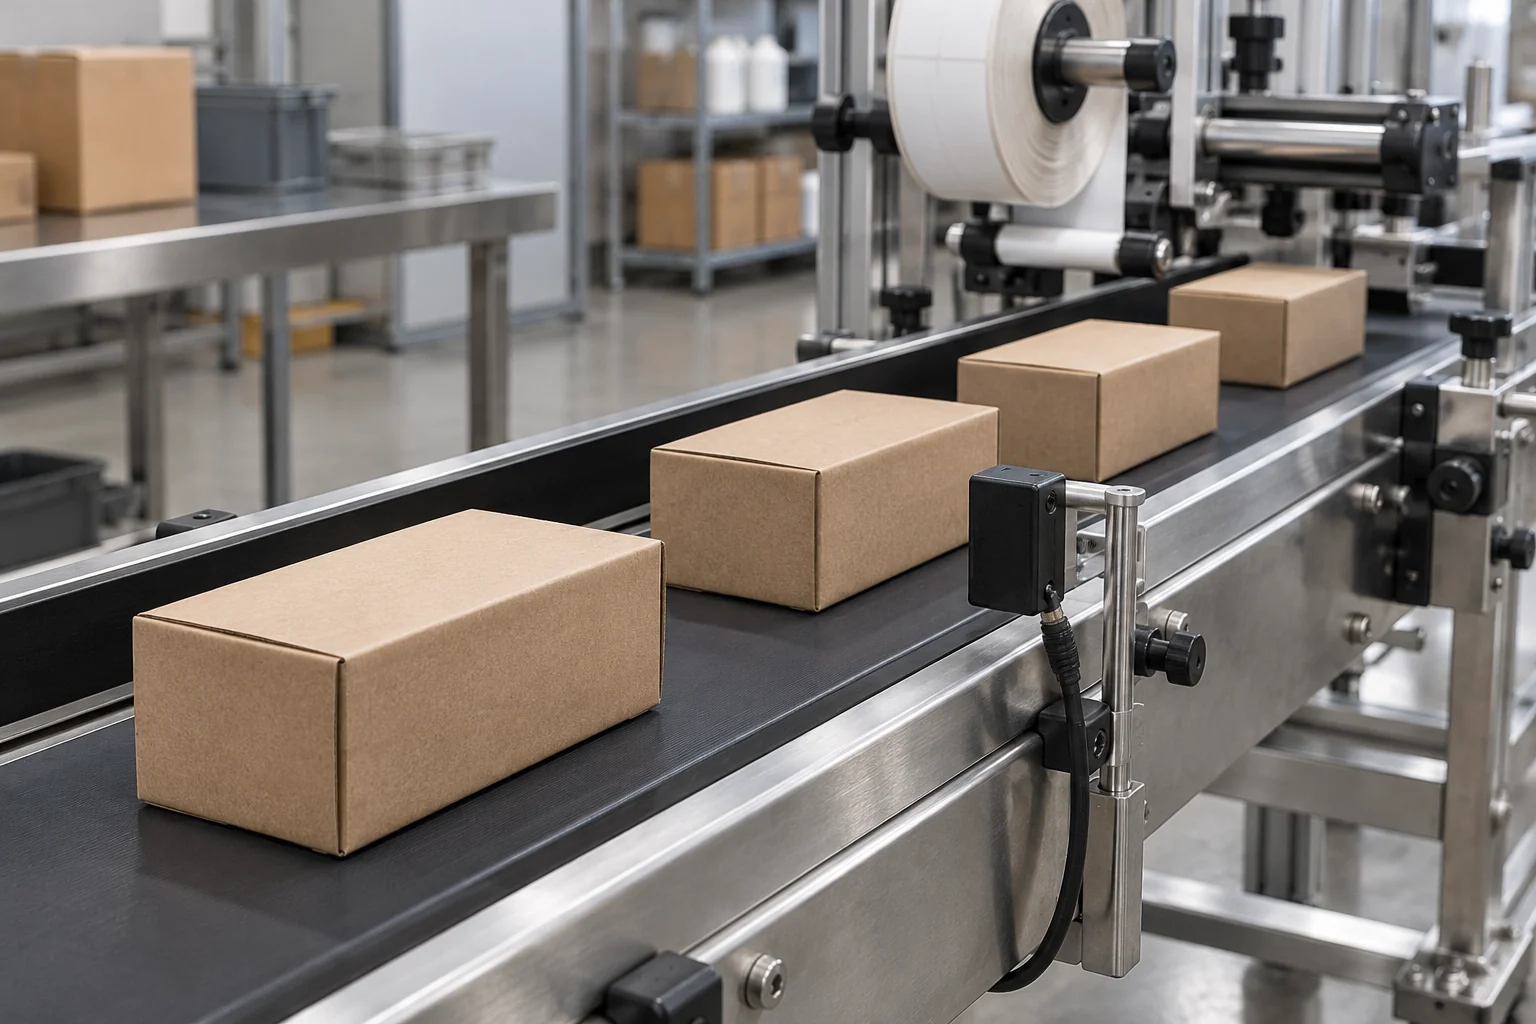
For wipe-on application, label feed during contact must follow the movement of the product surface. HERMA’s eco documentation describes a masterencoder function that synchronizes label feed with conveyor speed, including when that speed changes. This addresses a different variable from the average number of labels dispensed per minute.
A conveyor encoder measures conveyor motion. Product grip and guides must still keep the package moving predictably: matching belt and label speeds cannot mechanically correct a slipping or skewed package. Challenge the proposed system through its intended speed changes and stop/restart sequence, with the actual label and product combination, and inspect placement after each transition.
Include inspection and rejection in the trial
If the job requires continuous label verification and automatic segregation, specify those functions before comparing rates. Detection, rejection, and confirmation that the intended item was removed are separate parts of the job.
HERMA’s 132M HC documentation describes print and code monitoring, applied-label presence checks, product rejection, and cross-checking of rejection. Use that separation when writing a line specification: identify which defects must be detected, how the affected product is tracked to the reject point, and how its removal is confirmed.
During the equipment trial, introduce controlled samples with the defects the system is required to detect, including a missing label and consecutive defective pieces. Verify the intended products reach the reject destination at steady speed and during planned speed changes. Record accepted output after those controls are active.
Bring the same worksheet to both trials:
| Record for each SKU or transition | Measurement or decision to retain |
|---|---|
| Product and label combination | Container shape and filled state; label dimensions, material, and artwork version; required placement and identity checks. |
| Production requirement | Accepted quantity Q for each job and available minutes H. |
| Run result | Accepted pieces, timed running minutes, rejected pieces, staffing, and actual upstream/downstream arrangement. Calculate r. |
| Transition result | Old SKU → new SKU, last-good-to-first-good minutes c, changed parts, and approval steps. |
| Other downtime | Stops and causes that are not already included in r or c. Total as D. |
| Conveyor presentation | Speed, center-to-center pitch, product stability, any required feature alignment, and format parts. |
| Quality challenge | Required defect types, detection result, intended rejected item, and removal confirmation. |
| Schedule comparison | Calculate T for each option and compare with H. Retain the actual job sequence. |
Compare purchase scope alongside this record. Include the conveyor and transfer arrangement, guides or format sets, controls integration, inspection and rejection, operator attendance, roll replenishment, startup label waste, training, and maintenance access. Assign costs to the configuration that passed the trial, rather than pricing the dispensing head as the whole line.
Choose the workstation when its demonstrated output and controls fit the schedule. Choose inline when the complete line clears the capacity boundary and handles the required products and defects reliably during the trial. For the bench layout and job record that support this comparison, continue with semi-automatic labeling workstations for small batches.